
No products
Prices are tax included
Product successfully added to your shopping cart
There are 0 items in your cart. There is 1 item in your cart.


")
")
")
")
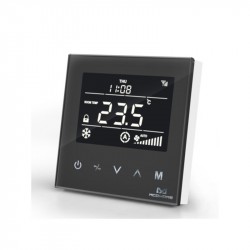
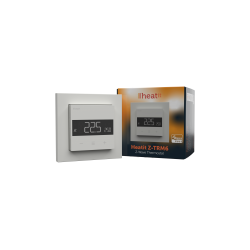
HELTUN Z-Wave Thermostat for Electric Heating (White)
HE-HT01-SW
New
The Heltun thermostat is a programmable room thermostat with an LCD display, four capacitive touch buttons, and two temperature sensors. White color
Out of stock
- Remove this product from my favorite's list.
- Add this product to my list of favorites.

Technical characteristics
| Technology | Z-Wave Plus |
More info
Comfort and savings with Heltun
Considering thermal comfort, what aspects are the most important? Is it the general temperature of the room? Soil temperature? Climate control? Or ... maybe something else? Whatever the need, HELTUN ensures you take care of yourself.
Elegant
Powerful, efficient and well designed, HELTUN is the slimmest and most elegant thermostat on the market. Featuring a crystal clear glass panel, its short-circuited, fire-resistant recycled plastic casing is only 9mm thick.
Premium design
HELTUN fits perfectly into your interior design and is available in 24 combinations: 4 frame colors (silver, chrome, white and black) and 6 types of glass (white, black, yellow, green, red, blue). You can choose any style that suits your taste.
Internal sensors
In addition to the temperature control sensors, the HELTUN thermostat also incorporates humidity and light sensors.
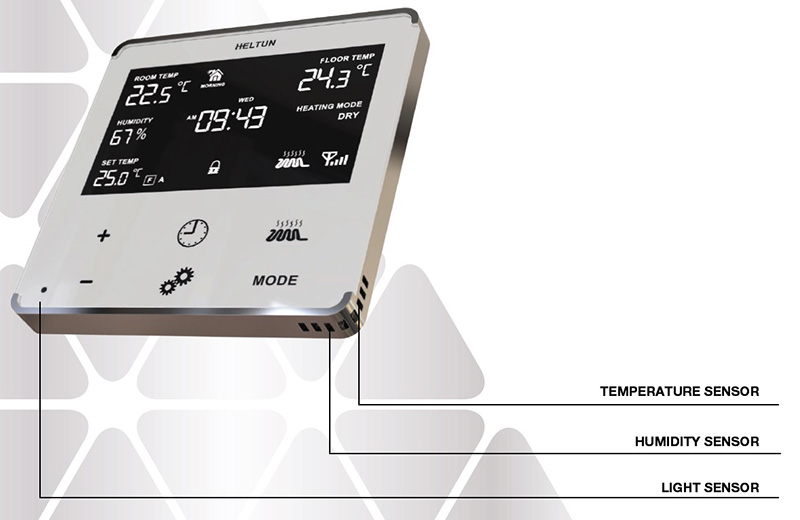
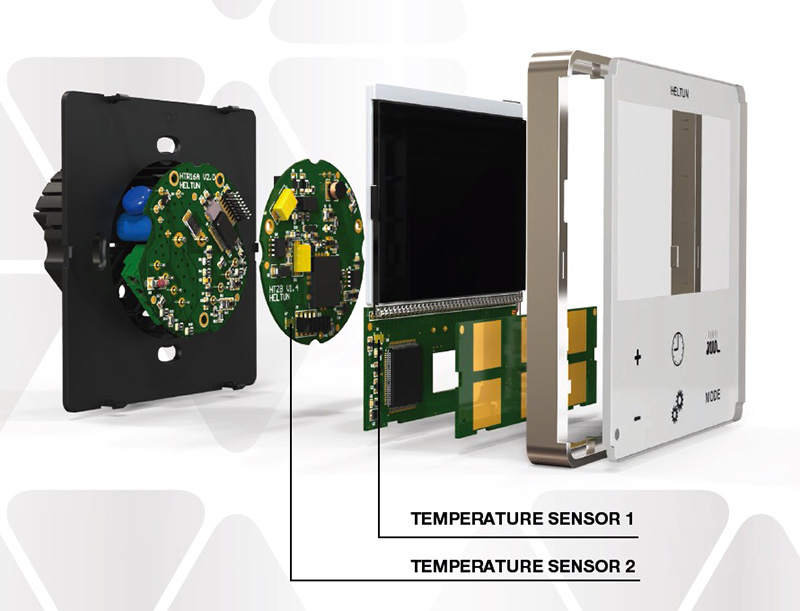
Additional sensors that help you save energy
When an electronic device performs its function, a certain amount of heat is generated. As a result, the room temperature is usually reported incorrectly with an accuracy of 1.5-2.0 degrees Celsius. HELTUN engineers have added two additional internal sensors that take into account the excess heat generated by the device itself, while special compensation software calculates the ambient temperature with an incredible precision of 0.2 to 0.3 degrees Celsius.
Tickets
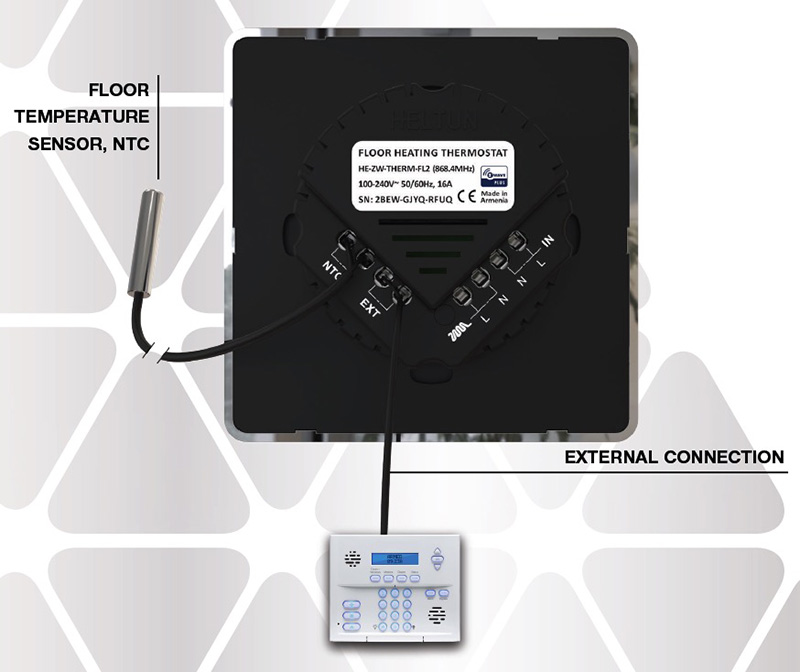
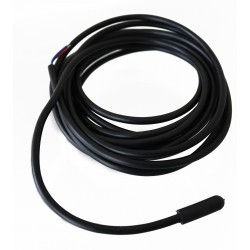
You can connect an NTC temperature sensor to the thermostat (a 3m long 3.5mm diameter NTC sensor is included in the box) or use your existing sensor to monitor floor and ceiling temperatures. This sensor can be installed under the floor or on the ceiling, allowing you to accurately measure the temperature of your chosen surface.
It is fully compatible with third-party NTC sensors, so there is no need to replace the existing sensors on your old thermostat when you upgrade to HELTUN.
You can also control the HELTUN thermostat by connecting it to an external system, for example by connecting it to the home alarm system, which will automatically lower the room temperature when the house is empty.
Know your energy consumption
With the energy consumption system built into the HELTUN thermostat, you can precisely control the amount of energy used for a particular day, week or month. This feature is currently absent from most available thermostats.
controls
The HELTUN thermostat's touch buttons are so sensitive that they react even before you physically touch them, treating the action at a distance of 1 to 2 mm. The buttons are:
Manual control button to manually turn your heater on or off
"Mode" button to quickly change the thermostat's operating mode (eg switch to economy mode or quick-drying floor mode, etc.)
"Time" button that allows you to quickly adjust the temperature for different times of the day
"Settings" button that allows you to modify up to 20 different settings and parameters of the thermostat
Keys "+" and "-" to adjust the temperature
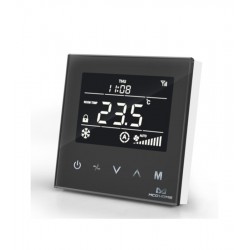
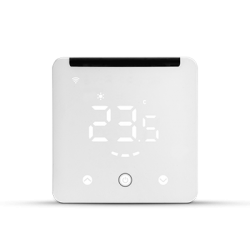
LCD screen
The HELTUN thermostat's large LCD screen shows all the necessary information simultaneously and, unlike many other models, does not require any additional commands to access it. There is instant access to information from all sensors: room temperature, air humidity, data from external sensors (eg floor or ceiling temperature), current temperature settings, Thermostat operating mode, date and time.
Automatic display brightness control adapts perfectly to ambient light conditions, making it easy to read even in the dark.
Heating modes
COM, ECO, VAC modes keep the set temperature constantly. The user can easily change the set temperature for each mode. To do this, simply press the "mode" button to select the desired mode and use the "+" and "-" buttons to set the required temperature. In most thermostats, this data can only be changed through the settings menu, causing a lot of disturbance, not to mention that in some thermostats these numbers are set by the manufacturer and cannot be changed.
DRY mode switches the thermostat to rapid heating mode at a higher temperature and after a certain time (default setting 20 minutes), replaces it with the previously set mode. This function is mainly used for quick drying of the floor after washing.
MAN (manual control) mode is used to turn the heating on and off manually.
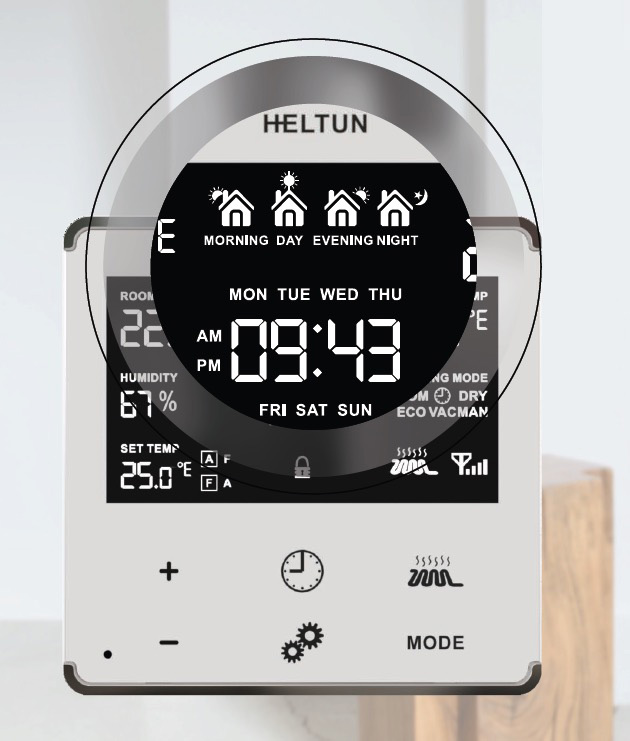
TIME mode allows you to set a different temperature for the morning, day, afternoon and night periods for every 7 days of the week.
TIME mode
Reduce your energy bill by up to 50% and help protect the environment by activating TIME mode. Adjust the temperature in the home according to your habits, lower it while you are away from home, and increase it at night and early in the morning.
On average, people spend 12 to 14 hours a day at home. The rest of the time the house is empty and only needs minimal heating. Consider 7/8 hours of sleep in the hours you spend at home, keeping in mind that the optimal temperature for sleeping is considered to be 18 degrees Celsius.
The thermostat can be individually set for morning, day, afternoon and night. For example, it can be configured to work on Monday morning from 7:00 a.m., then the temperature of the day from 9:00 a.m. (in absence for work, etc.), and the afternoon from 18 : 00 (half an hour before). The arrival of the occupants). The evening program begins at 11:30 p.m. (bedtime).
You can have separate temperature settings for the 4 periods. But that is not all; Since the temperature can be programmed for each day of the week, weekends can be treated differently.
Automatic comfort control
Choose temperature control operation from floor, room, or combined readings. The system can be adjusted to provide maximum comfort at all times. For example, if the room temperature is within the set limits, the floor temperature drops, the underfloor heating system will be activated automatically. System security will not allow temperatures to rise or fall below the comfort level.
1) If the control is based solely on the room air sensor, the thermostat will regulate the room temperature, regardless of the floor temperature.
2) If the control is based solely on the floor sensor, the thermostat will regulate the floor temperature, regardless of the ambient temperature.
3) If the control is based on the ambient sensor, but within the floor temperature limits, the thermostat will maintain the specified air temperature, but will not allow the floor temperature to deviate from the specified limits.
4) If the control is based on the floor sensor, but within the ambient limits, the thermostat will maintain the specified floor temperature, but will not allow the ambient temperature to deviate from the specified limits.
Hysteresis
Hysteresis defines when the system should turn the heater on or off when the temperature changes. For example, if the desired temperature is 25 degrees Celsius and the hysteresis value is set to 0.5 degrees, the heat will be activated when the ambient temperature drops to 24.5 degrees Celsius.
The higher the hysteresis value, the more energy you save, but at the same time the ambient temperature variations will be higher. The default is 0.5 degrees.
Secure and protect
HELTUN devices have a special feature to protect the floor against overheating; In no case does the thermostat allow the floor temperature to exceed 40 ° C, regardless of the mode, as it can damage the soles of the feet.
If the main power supply is cut off or disconnected, the internal memory is not cleared. Once you have reactivated the device, all the saved settings will be fully functional.
To prevent children from interfering with your thermostat settings, you can enable child protection mode.
Z-Wave Plus S2 Certificate
Connect your HELTUN devices to the home control system using the latest Z-Wave Plus secure chip with the new security framework 2 (S2) (AES 256 encryption method for data transfer).
The HELTUN thermostat is compatible with all Z-WAVE certified controllers and peripherals.
With the Z-Wave controller, you can manage all the thermostat's functions through a mobile app, including changing temperature and mode, viewing accurate graphs of power consumption, and more.
Additionally, up to 10 separate devices can be connected to the thermostat. You can pair the Heltun thermostat with any Z-Wave compatible on / off switch or other thermostat and control different climate systems in the room, or even connect motion sensors and adjust the mode change through identifying people and the general movement inside the house
FUNCTIONS:
Z-Wave thermostat for electric heating.
Inclusion / exclusion in a z-wave network.
Control by association of 10 network devices.
6 operating modes: COM, ECO, VAC, DRY, TIME, MANUAL
4-period temperature schedule for 7 days a week
Choice of temperature sensor for operation.
Soil temperature only
Air temperature only
Soil + air temperature
Usable with different NTC sensors
Resistance value range: 1kOhm - 100kOhm
Calibration of temperature sensors.
Set temperature ranges: 4 ° C to 37 ° C
Temperature limiter
Choose a temperature hysteresis
Choice of unit (Celsius / Fahrenheit)
Adjustable LCD screen brightness: automatic or manual
LCD standby mode
Child lock
Reset the consumption meter.
Return to factory settings
OTA function (firmware update over the air)
TECHNICAL DATA :
Front frame dimensions (on the wall): 89x89x9mm
Back dimensions: 53x53x28mm
Material: Flame retardant plastic, tempered glass
5 frame colors: white, glossy black, matte black, silver, chrome.
6 glass colors: white, black, yellow, green, red, blue
LCD: 73x42mm, black with white icons
6 capacitive touch sensitive buttons
Maximum resistive load: 16,4000W @ 250VAC
Switching of relays with zero-crossing technology
Relay life: 100,000 cycles
Internal ambient light sensor
Internal temperature sensor
Measurement range: -30 ° C to + 80 ° C
Accuracy: ± 0.5 ° C
Internal humidity sensor
Measurement range: 0% to 80% RH
Accuracy: ± 3.0% RH
External soil temperature sensor
NTC 10kOhm
Measurement range: -30 ° C to + 80 ° C
Accuracy: ± 0.5 ° C
Length of supplied external NTC probe: 3m
Energy consumption meter
External control via pilot cable
Operating temperature: 0 °! at + 50 °!
Power supply: 85-265VAC 50Hz / 60Hz, 24-48VDC
Power Consumption: 1W
IP class: IP21
Z-Wave Plus V2 SDK: V7.11
Z Wave Module: ZGM130S
Back box required: round or square type - minimum depth 40mm
Extended Z-Wave info
Manual download HERE.
Please use this procedure only when the network primary controller is missing or otherwise inoperable.
1. Enter “SETTINGS” Mode by pressing and holding the Gear button for three seconds.
2. Scroll menu to “Parameter 31 – nEt” using the Heating Element button to scroll up, and the “MODE” button to scroll down.
3. The current state of the network will display in the Parameter Value position (upper right). It should display “InC”. Note: If “EcL” is displayed, the HE-HT01 is already Excluded.
4. Start the Exclusion Mode from the gateway/controller.
5. Press the Minus “–” button in the HE-HT01 Parameter 31 to start the Exclusion process
6. Note that lines will be moving in the Parameter value position (upper right).
7. The Antenna icon should appear in the bottom right corner and “EcL” in the value position if the Exclusion was successful.
8. If the Antenna with signal strength bars icon or “InC” in value position are displayed, repeat the Exclusion process.
1. Enter “SETTINGS” Mode by pressing and holding the Gear button for three seconds.
2. Scroll menu to “Parameter 31 – nEt” using the Heating Element button to scroll up, and the “MODE” button to scroll down.
3. The current state of the network will display in the Parameter Value position (upper right). It should display “EcL”. Note: If “Inc” is displayed, the HE-HT01 must first be Excluded from an existing Z-Wave network (see “Exclusion” below).
4. Start the Inclusion Mode from the gateway/controller.
5. On the HE-HT01 in the Parameter 31 press the Plus “+” key to start the Inclusion process.
6. Note that lines will be moving in the Parameter value position (upper right).
7. The Antenna with signal strength bars icon should appear at the bottom right corner if Inclusion was successful.
8. If only the Antenna icon is displayed or “Err” is on Value position, the HE-HT01 Inclusion was not successful (try repeating steps 4-7).
Reviews
29 other products in the same category:
-
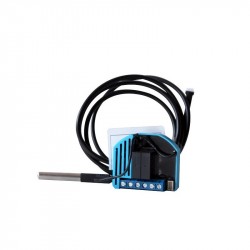
Qubino...
-

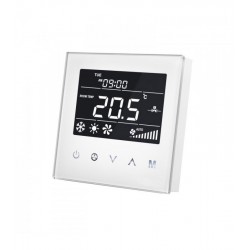
MCO Home -...
-
MCO HOME -...
-

MCO HOME -...
-

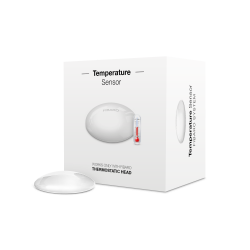
Fibaro -...
-

Fibaro -...
-
Fibaro...
-
MCO Home -...
-
MCO Home -...
-
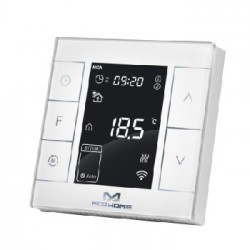
REMOTEC -...
-
Qubino...
-
MCO HOME -...
-
MCO HOME -...
-
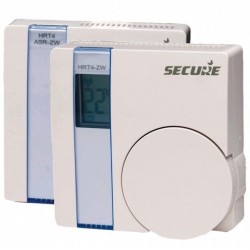
SECURE...
-
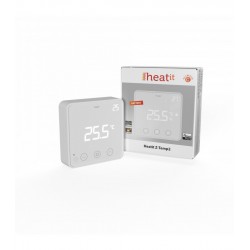
Heatit...
-
Heatit...
-
MCO-Home...
-

HELTUN...
-
MCO Home -...
-
Airzone...
-
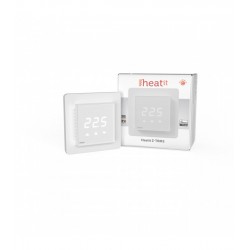
Heatit...
-
MCO Home IR...
-
Remotec...
-
Eurotronic...
-
Heatit...
-
ZVIDAR...
-
Heatit ZM...
-
Z-Wave...
-
Heatit...