Ningún producto
Precios con IVA incluído
Producto añadido correctamente a su carrito de la compra
Hay 0 artículos en su carrito. Hay 1 artículo en su cesta.


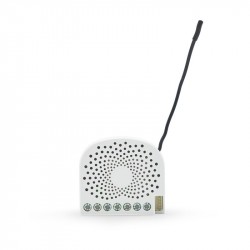
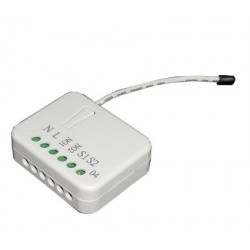
Qubino Mini Dimmer - micromodulo regulador Z-Wave+
ZMNHHD1
Nuevo
Este Mini Dimmer es un 25% más pequeño que otras micromódulos inalámbricos del mercado. Gracias a su pequeño tamaño, permite una instalación fácil y rápida.
En Stock - Envío inmediato
- Eliminar de mis favoritos
- Agregar este producto a mis favoritos
- Imprimir

Características técnicas
| Tecnología | Z-Wave Plus |
| Característica | Dimmer |
Descripción
Mini Dimmer Qubino
El Mini Dimmer de Qubino es un 25% más pequeño que otros dispositivos inalámbricos similares del mercado. Gracias a su pequeño tamaño, permite una instalación fácil y rápida. La señal inalámbrica trabaja con el protocolo Z-Wave.
Funciona sin cable de neutro
El mini-regulador no requiere un cable neutro (N). Funciona en una configuración de 2 hilos.
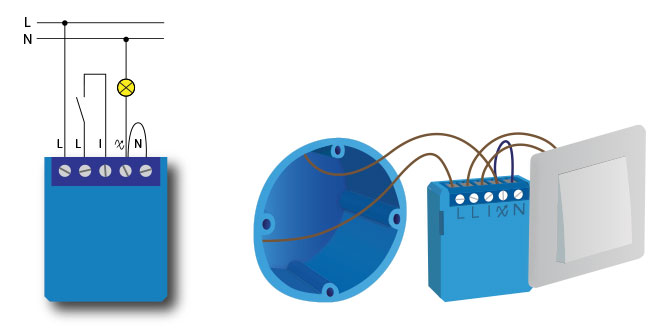
Instalación del Mini Dimmer Qubino con 2 hilos (sin neutro)
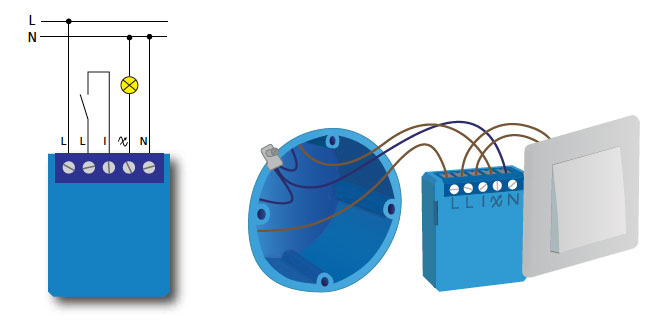
Instalación del Mini Dimmer Qubino con 3 hilos (con neutro)
Bombillas a partir de 1W
Conecte y controle a distancia las bombillas de bajo consumo. No se requiere una carga mínima.
Instalación rápida y sencilla
Debido a su pequeño tamaño, es adecuado incluso para las cajas eléctricas más pequeñas, más superficiales y desbordadas y desbordantes de cables.
Varía todos los tipos de bombillas de intensidad variable
El Mini Dimmer de Qubino se calibrará para funcionar con su tipo específico de bombilla - desde LEDs, fluorescentes, halógenas hasta incandescentes. Independientemente del tipo de bombilla que utilices, el Mini Dimmer te ofrece un rango de regulación máximo.
|
Es adecuado para todo tipo de cajas empotradas en todo el mundo
Reducir el tiempo de montaje y los costes de instalación. Instálelo rápida y fácilmente detrás de un interruptor convencional.
Señalización LED
Reconocer fácilmente si el Mini Dimmer está incluido o excluido de la red, estar informado en caso de sobrecarga o sobrecalentamiento así como cuando la calibración está en curso.
Descarga las bombillas dimables testadas con Qubino mini dimmer (marzo 2020) aqui
FUNCIONES:
El Mini Dimmer de Qubino es el dimmer inalámbrico más pequeño del mundo.
Puede instalarse en un sistema de 2 hilos, sin necesidad de cable de neutro.
Por supuesto, también se puede instalar en un sistema de 3 hilos - con cable de neutro
Debido a su pequeño tamaño, es adecuado incluso para los armarios eléctricos más pequeños, más superficiales y más desordenados.
Es adecuado para todo tipo de cajas empotradas en todo el mundo.
Puede conectar y controlar remotamente las bombillas desde 1W, sin necesidad de una carga mínima.
Puede regular todos los tipos de bombillas de intensidad variable - incandescentes, halógenas, LED, tiras de luz LED, fluorescentes
Dispone de señalización LED para reconocer fácilmente si el Mini Dimmer está incluido o excluido de la red, en caso de sobrecarga o sobrecalentamiento y cuando la calibración está en curso.
Consumo de energía extremadamente bajo: menos de 0,4 W
ESPECIFICACIONES TÉCNICAS
Alimentación: 110 - 240 VAC 50Hz
Corriente de carga nominal de la salida: 0,85A
Potencia de salida del circuito de salida (carga resistiva): 200W
Precisión de la medición del consumo (2 hilos): ± 10%.
Precisión de la medición del consumo (3 hilos): ± 2%.
Temperatura de funcionamiento: -10 a +40 ° C
Distancia: hasta 30 m interior
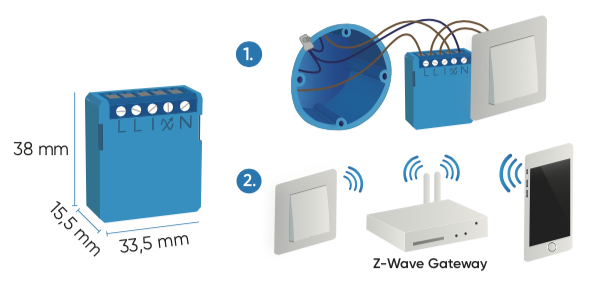
Dimensiones (ancho x alto x fondo): 38mm x 33.5mm x 15.5mm
Peso: 28 g
Consumo de energía: 0,4 W
Para instalación en cajas: Ø ≥ 60 mm o 2M
Conmutación: MOSFET (corte de fase/borde de fuga)
Repetidor Z-Wave: Sí
![]()
Información Ampliada Z-Wave (Inglés)
Descargue el manual desde aquí.
1. Connect the device to the power supply.
2. Within the first minute (60 seconds) the device is connected to the power supply, toggle the switch connected to the terminal I 5 times within 3 seconds. The device has to get On/Off signal 5 times, meaning 5 times push of the momentary switch or with toggle switch 5 times On and 5 times Off.
OR
Press and hold the S (Service) button for at least 6 seconds if connected to power supply. For your safety use only 24-30 Vdc power supply when accessing to S (Service) button. This procedure put the device in LEARN MODE.
ⓘ NOTE: By resetting the device, all custom parameters previously set on the device will return to their default values, and the node ID will be deleted. Use this reset procedure only when the main gateway (hub) is missing or otherwise inoperable. If an end device is factory reset, it is reverted to the Z-Wave SmartStart inclusion state.
ⓘ NOTE: the reset with switch connected to terminal I is possible only in the first minute after the device is connected to the power.
ⓘ NOTE: after the reset is successfully done the autocalibration will trigger and the green LED will start blinking.
1. Scan QR code on device label and add S2 DSK to Provisioning List in gateway (hub)
2. Connect the device to the power supply
3. Inclusion will be initiated automatically within few seconds of connection to the power supply and the device will automatically enrol in your network (when the device is excluded and connected to the power supply it automatically enters the LEARN MODE state).
NOTE: LEARN MODE state allows the device to receive network information from the controller.
ⓘ SmartStart inclusion is a part of S2 security level, so if you want to use SmartStart, you need to include it as S2 Authenticated.
1. Connect the device to the power supply.
2. Make sure the device is within direct range of your Z-Wave gateway (hub) or use a hand-held Z-Wave remote to perform exclusion.
3. Enable add/remove mode on your Z-Wave gateway (hub).
4. Toggle the switch connected to the terminal I 3 times within 3 seconds (this procedure put the device in LEARN MODE). The device has to get On/Off signal 3 times, meaning 3 times push of the momentary switch or with toggle switch 3 times On and 3 times Off.
OR
Press and hold the S (Service) button between 2 and 6 seconds if connected power supply. For your safety use only 24-30 Vdc power supply when accessing to S (Service) button. This procedure put the device in LEARN MODE.
5. Exclusion with the switch connected to terminal I is not limited by time.
6. The device will be removed from your network, but any custom configuration parameters will not be erased.
ⓘ NOTE: LEARN MODE state allows the device to receive network information from the controller.
Opiniones
Funciona: dimmer sin neutro
Muy útil cuando hay que ponerlo en caja de mecanismos
Es MUY pequeño
Muy pequeñín. Cabe donde haga falta. Funciona bien y rapido sin latencias. Comprare mas.
Recomendable 100x100
Muy recomendable. Es muy pequeño. Formidable que no requiera neutro obligatorio para funcionar. Me ha sacado de un apuro. Me llego rapido. Gracias.
Muy pequeño
Este dimmer es muy pequeño. Funciona bien con eedomus dimando bombillas del Ikea
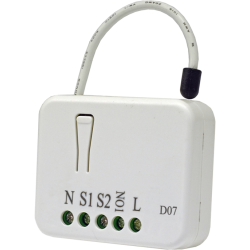
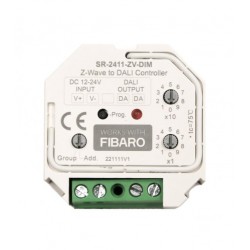
30 otros productos de la misma categoría:
-
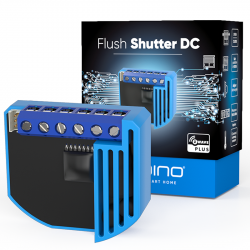
Bypass para...
-
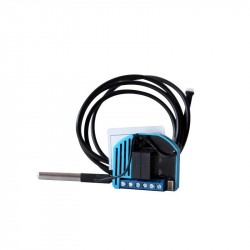
Qubino...
-
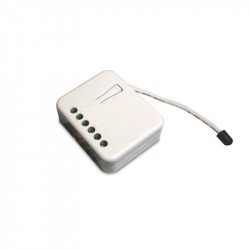
Qubino...
-
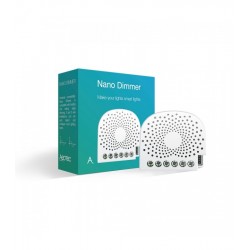
Philio...
-
AEOTEC -...
-
AEOTEC -...
-
AEOTEC -...
-
Aeotec Nano...
-
Aeotec Nano...
-

WiDom Smart...
-
WiDom Smart...
-
WiDom Smart...
-

Qubino...
-
Fibaro...
-
Fibaro...
-
FIBARO RGBW...
-

FIBARO...
-
HELTUN -...
-
HELTUN -...
-
Heatit ZM...
-
Philio...
-
ZOOZ...
-
Philio...
-

Philio...
-
Controlador...
-
Heatit ZM...
-
Heatit ZM...
-
Shelly...
-
Shelly...
-
Shelly...