
Sem produtos
Preços com IVA
Produto adicionado com sucesso ao seu carrinho de compras
Existem 0 produtos no seu carrinho de compras. Existe um produto no seu carrinho de compras.


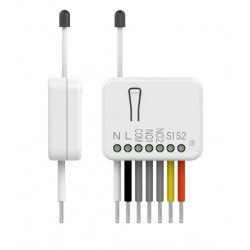
Heatit ZM Dimmer 250W - Micromódulo Z-Wave Dimmer
HEATIT-1444449
Novo
Micromódulo dimmer Z-Wave de 250W para instalação em caixa registradora ou caixa de mecanismo.
Em estoque
- Retirar este produto da minha lista de favoritos.
- Adicionar este produto à minha lista de favoritos.

Características tecnicas
| Tecnologia | Z-Wave Plus |
Mais Informação
Heatit ZM Dimmer é um dimmer embutido para instalação em caixas elétricas de parede europeias. O dimmer permite ao usuário controlar as fontes de luz da rede Z-Wave e/ou um interruptor externo.
O Heatit ZM Dimmer funciona na maioria das cargas baixas de LEDs e outras luminárias sem causar cintilação.
O dimmer pode ser conectado a dois interruptores externos que podem ser usados para controlar luzes, dispositivos associados e cenas.
O Heatit ZM Dimmer possui medição de energia ativa e fornece informações em tempo real sobre seu consumo de energia.
Informação alargada da Z-Wave (Inglês)
The QR-code is needed when including a device using S2 security or SmartStart. The DSK can be found in the QR-code and is located;
• On the product.
• In the Quick Guide.
• On the packaging box/gift box.
The device may only be added from the network if the primary controller is in add mode. When the device is removed from the network, it will NOT revert to factory settings.
An always listening node must be powered continuously and reside in a fixed position in the installation to secure the routing table. Adding the device within a 2 meters range from the gateway can minimize faults during the Interview process.
Standard (Manual)
Add mode is indicated on the device by a blinking green LED. It indicates this for 90 seconds until a timeout occurs, or until the module has been added to the network. Configuration mode can also be cancelled by performing the same procedure used for starting Configuration mode.
To start the configuration process, press the reset button 3 times in rapid succession. The LED will light up in solid green for 3 seconds if add is successful. The device is now ready for use with default settings.
NB! When the device is removed from the gateway, the parameters are not reset. To reset the parameters, see ”Factory reset”.
If inclusion fails, please perform a ”remove device” process and try again. If inclusion fails again, please see “Factory reset”.
Standard (Manual)
Remove mode is indicated on the device by a blinking green LED. It indicates this for 90 seconds until a timeout occurs, or until the module has been removed from the network. Configuration mode can also be cancelled by performing the same procedure used for starting Configuration mode.
To start the configuration process, press the reset button 3 times in rapid succession. The LED will light up in solid green for 3 seconds if remove is successful. The device is now ready for use with default settings.
NB! When the device is removed from the gateway, the parameters are not reset. To reset the parameters, see ”Factory reset”.
Please read this before installation.
Press and hold the reset button. After 3 seconds the LED will start to blink green. After 20 seconds the LED will start blinking green rapidly. You may now release the button. If reset was successful the LED will light up in solid green for 3 seconds.
Please use this procedure only when the network primary controller is missing or otherwise inoperable.
Power metering
Overload protection
Short circuit protection
Surge protection
Overheat protection
Max. dim level auto-calibration
On/off functionality
Avaliações
30 outros produtos na mesma categoria:
-
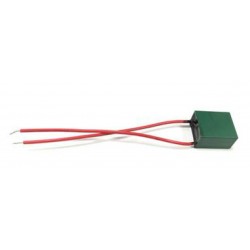
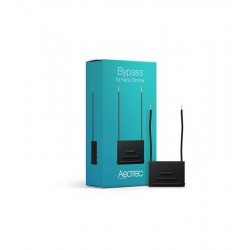
Bypass para...
-
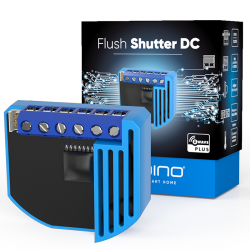
Qubino...
-
Qubino...
-
Philio...
-
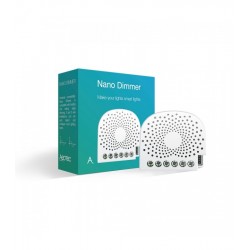
AEOTEC -...
-
AEOTEC -...
-
AEOTEC -...
-
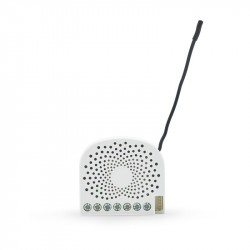
Aeotec Nano...
-

Aeotec Nano...
-
Qubino Mini...
-
Dimmer...
-
Chave de...
-
WiDom Smart...
-
Qubino...
-

Fibaro...
-
Micromódulo...
-
Controlador...
-

FIBARO...
-
HELTUN -...
-
HELTUN -...
-
Heatit ZM...
-
Philio...
-
Philio...
-
Philio...
-
Controlador...
-
Termostato...
-

Shelly...
-
Shelly...
-

Shelly...
-
Shelly...