Sem produtos
Preços com IVA
Produto adicionado com sucesso ao seu carrinho de compras
Existem 0 produtos no seu carrinho de compras. Existe um produto no seu carrinho de compras.


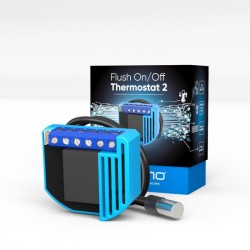
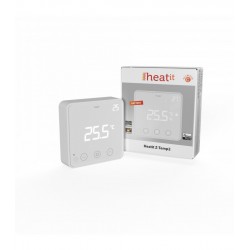
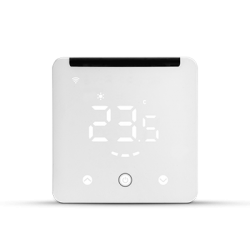
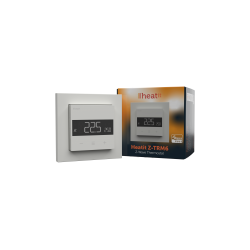
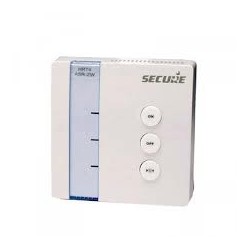
Heatit Z-TRM6 - Termostato quente / frio Z-Wave integrado
Novo
Termostato inteligente resultante de 4 gerações anteriores de termostatos HEATIT Z-TRM. Traz medição de consumo, tecnologia de proteção de relé ZeroX, comutação por histerese ou PWM, excelente design e qualidade e 3 modos de controle.
Em estoque
- Retirar este produto da minha lista de favoritos.
- Adicionar este produto à minha lista de favoritos.

Características tecnicas
| Tecnologia | Z-Wave Serie 800 |
Mais Informação
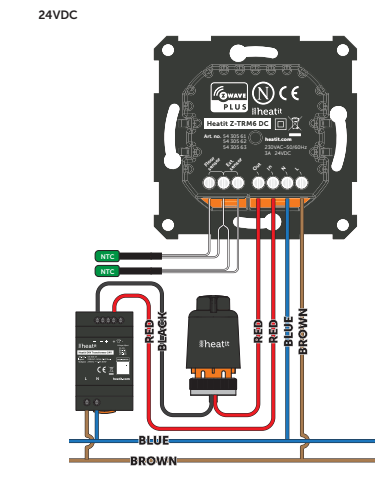
O Heatit Z-TRM6 DC é um termóstato eletrónico com relé sem potencial, concebido para o controlo de caldeiras, bombas de calor e actuadores. O termóstato pode ser controlado através da sua rede Z-Wave ou através dos botões na parte frontal. O termóstato tem uma interface de fácil utilização. O termóstato para caldeiras ou sistemas que requerem um relé de contacto seco, pode ser controlado através da sua rede Z-Wave ou fisicamente pelos botões na parte frontal do próprio termóstato. O termóstato tem uma interface de fácil utilização. Como tem um modo de arrefecimento-calor, é ideal para operar válvulas solenóides ou actuadores em colectores de aquecimento/arrefecimento de água sob o pavimento que não funcionam com 220V.
O Heatit Z-TRM6 DC tem 3 modos: Calor - Frio e Eco.
O termóstato adapta-se a caixas de derivação padrão europeias e pode ser utilizado com a maioria das estruturas do Sistema 55. Possui uma estrutura metálica robusta para uma fixação segura na caixa de derivação. O termóstato tem um sensor de temperatura ambiente integrado. Podem também ser ligados dois sensores de temperatura externos adicionais.
O Heatit Z-TRM6 DC permite o ajuste manual do valor de medição de potência.
O termóstato pode ser configurado com múltiplas associações e pode ser utilizado como um termóstato principal. Pode controlar até 10 termóstatos e 10 relés externos, por exemplo, tomadas de parede.
Esquema de ligação para o controlo por contacto seco do termóstato da divisão (TA) na caldeira a gás.
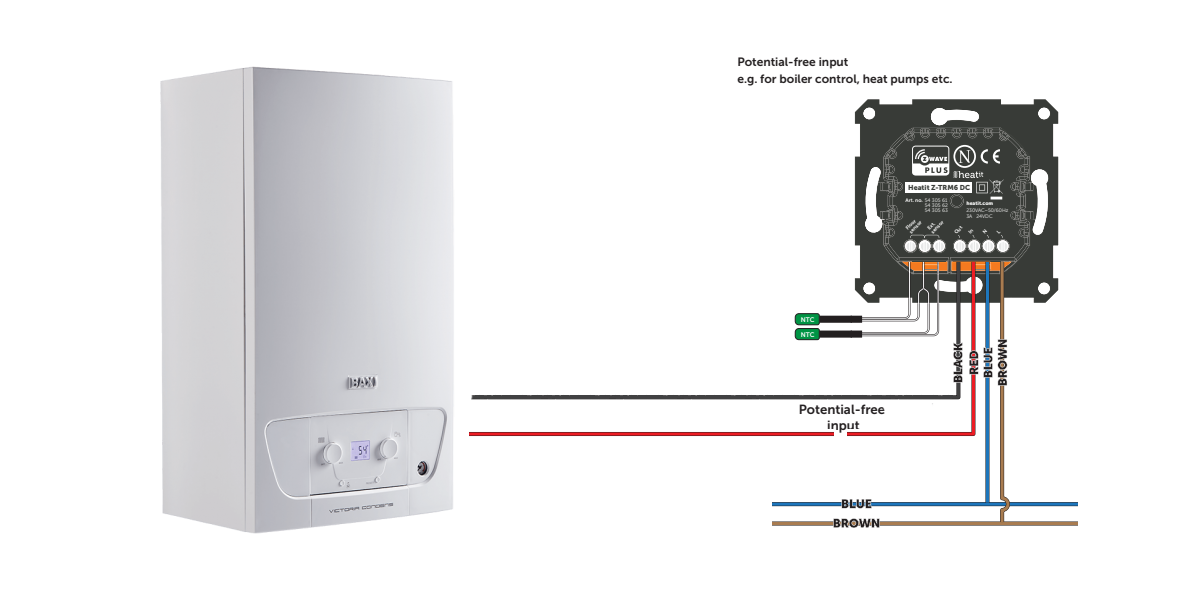
Diagrama de ligação da cablagem para o controlo da válvula solenoide de 24V DC..
Como o termostato Heatit Z-TRM6 Z-Wave regula a temperatura
O termóstato utiliza as leituras de temperatura obtidas a partir do sensor interno e/ou de sensores externos com fios para regular a temperatura.
A temperatura. O termóstato regula a temperatura utilizando histerese ou PWM, com base no ponto de regulação da temperatura.
Para selecionar "HYST" ou "PWM", pode encontrar a opção de menu "REG" ou utilizar o parâmetro 13 "OPER".
Quando selecionar a regulação através de histerese
A histerese ligará e desligará a carga dependendo do valor de histerese comparado com o ponto de ajuste. É possível efetuar alterações à histerese do termóstato. Pode escolher valores de histerese entre 0,3°C e 3,0°C utilizando o parâmetro 14. A predefinição para a predefinição é 0,5°C. Quando é utilizado o aquecimento de água, recomendamos uma histerese de 1,0°C.
Também pode alterar a histerese entrando no menu de definições locais e mantendo premido o botão central durante 2 segundos quando "REG" é apresentado. Aqui pode escolher valores entre 0,3 e 3,0.
Quando a regulação PWM está selecionada
Com a regulação PWM activada, o termóstato regula de acordo com os ciclos de funcionamento. O termóstato liga-se e desliga-se em intervalos percentuais do ciclo. A quantidade de tempo que o relé ficará ligado é baseada na distância entre a temperatura medida e o ponto de ajuste.
Termostato Z-Wave Heatit Z-TRM6 DC
Termostato Z-Wave
Sensor ambiente interno
Sensor ambiente externo (com fios)
Sensor de chão
Limitador de temperatura
Controlo da caldeira e da bomba de calor
Controlo do atuador
3 modos: Calor - Frio e Eco
Histerese/PWM
Calibração da temperatura
Deteção de janela aberta
Ícone de estado do relé
Brilho do ecrã ajustável
Interruptor unipolar
Modo de bloqueio/ bloqueio para crianças
Leitura da temperatura no gateway
Programação semanal no gateway
Medição manual da potência
SmartStart
Atualização do firmware (OTA)
Suporta os modos de encriptação S0, S2 Authenticated Class, S2 Unauthenticated Class
Desenvolvido e projetado de acordo com rigorosos requisitos de qualidade (ISO 9001) e ambientais (ISO 14001).
Recomendamos que as instalações eléctricas sejam efectuadas por um instalador elétrico autorizado. O produto deve ser instalado de acordo com o nosso manual do instalador e com os códigos de construção nacionais. Qualquer instalação incorrecta, utilização indevida ou danos no produto não são cobertos pela garantia.
O aparelho pode suportar uma carga máxima de 3A.

PONTOS-CHAVE:
Contacto seco - Termostato especial para controlar cargas ligadas sem potencial.
Modos - O termóstato tem 3 modos: Calor - Frio e Eco. Cool e Eco são novas características.
Estrutura metálica - O termóstato tem uma estrutura metálica para uma montagem segura na caixa de derivação, o que aumenta a durabilidade do produto em contraste com as anteriores soluções de plástico.
Associações - O termóstato pode ser configurado com várias associações e pode ser utilizado como termóstato principal. Pode controlar até 10 termóstatos e 10 relés externos.
Regulador de potência - O Heatit ZTRM-6 DC tem um regulador de potência incorporado como alternativa à regulação de temperatura.
Histerese - Com a regulação por histerese activada, o termóstato só regula de acordo com a temperatura. O termóstato liga-se e desliga-se dependendo do valor de histerese em relação ao ponto de regulação.
Modulação de Largura de Impulso/PWM - Com o controlo de modulação de largura de impulso ativado, o termóstato regula de acordo com os ciclos. O termóstato liga-se e desliga-se em intervalos percentuais do ciclo.
Deteção de janela aberta - Com a deteção de janela aberta, o termóstato detecta se uma janela está aberta, permitindo-lhe cortar o aquecimento quando há uma queda rápida da temperatura.
Medição manual de potência - O termóstato dispõe de uma medição manual de potência que lhe dá uma visão geral do consumo em tempo real. O tamanho da carga é definido como um valor fixo no menu.
Botões de pressão - Com uma combinação de botões de pressão e funcionalidade tátil, o termóstato é mais fácil de utilizar.
Informação alargada da Z-Wave (Inglês)
• On the product.
• In the Quick Guide.
• On the packaging box/gift box.
You may also initiate a reset by holding the Right and Center buttons for 60 seconds.
When either of these procedures has been performed, the thermostat will perform a complete factory reset. The device will display “RES” for 5 seconds while performing a factory reset. When “RES” is no longer displayed, the thermostat has been reset.
Please use this procedure only when the network primary controller is missing or otherwise inoperable.
The primary controller/gateway has a mode for adding devices. Please refer to your primary controller manual on how to set the primary controller in add mode. The device may only be added to the network if the primary controller is in add mode.
An always listening node must be powered continuously and reside in a fixed position in the installation to secure the routing table. Adding the device within a 2 meter range from the gateway can minimize faults during the Interview process.
Standard (Manual)
Add mode is indicated on the device by rotating LED segments on the display. It indicates this for 90 seconds until a timeout occurs, or until the device has been added to the network. Configuration mode can also be cancelled by performing the same procedure used for starting
Configuration mode.
1. Hold the Center button for 5 seconds.
The display will show “OFF”.
2. Press the ”+” button once to see “CON” in the display.
3. Start the add device process in your primary controller.
4. Start the configuration mode on the thermostat by holding the Center button for approximately 2 seconds.
The device is now ready for use with default settings.
If inclusion fails, please perform a ”remove device” process and try again. If inclusion fails again, please see “Factory reset”.
The primary controller/gateway has a mode for removing devices. Please refer to your primary controller manual on how to set the primary controller in remove mode. The device may only be removed from the network if the primary controller is in remove mode.
When the device is removed from the network, it will NOT revert to factory settings.
Standard (Manual)
Remove mode is indicated on the device by rotating LED segments on the display. It indicates this for 90 seconds until a timeout occurs, or until the device has been removed from the network. Configuration mode can also be cancelled by performing the same procedure used for starting
Configuration mode.
1. Hold the Center button for 5 seconds.
The display will show “OFF”.
2. Press the ”+” button once to see “CON” in the display.
3. Start the remove device process in your primary controller.
4. Start the configuration mode on the thermostat by holding the Center button for approximately 2 seconds.
NB! When the device is removed from the gateway, the parameters are not reset. To reset the parameters, see Chapter ”Factory reset”.
Avaliações
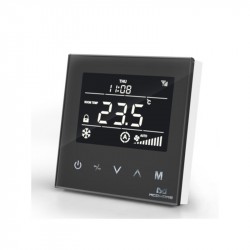
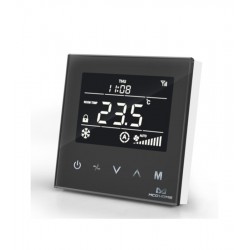
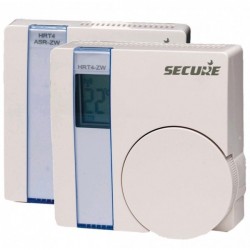
29 outros produtos na mesma categoria:
-
Qubino...
-

MCO Home -...
-

MCO HOME -...
-
MCO HOME -...
-
Fibaro -...
-
Fibaro -...
-
Sensor de...
-
MCO Home...
-
MCO Home -...
-
REMOTEC -...
-
Qubino...
-
MCO HOME -...
-
MCO HOME -...
-
Kit de...
-
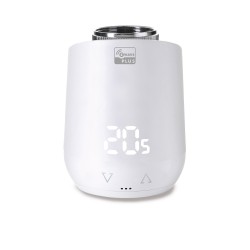
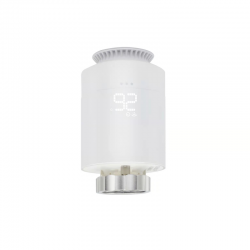
Heatit...
-
Termostato...
-
MCO-Home...
-

HELTUN...
-
Termostato...
-
MCO Home -...
-
Airzone...
-
Adaptador...
-
MCO Home IR...
-
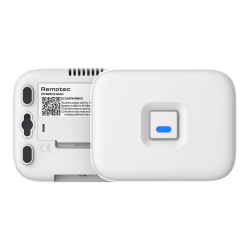
Remotec...
-
Cabeça...
-
Heatit...
-
Válvula...
-
Termostato...
-
Actuador de...